Hey, welcome to the blog.
I got to successfully assemble and futureproof my computer PC desktop last month.
I started a week ago by installing first my video driver on August 13, 2021.
It was only at this date that I finally attained a "hardened security status", which I will share in a separate blog post the details in the future.
In a nutshell, I was able to achieve my aim/objective which was to get all my connections to the world wide web totally encrypted.
What? That's right.
Indelible in security speak is intended for a totally ENCRYPTED Server Name Indication (ESNI) that is, what I dub my version of a "secure web connection heaven."
By the way, there are four (4) tools/things that you will need to use/tweak in order to achieve FULL ESNI as follows:
I. GRC Fingerprints
II. Cloudflare
III. Firefox ESR
IV. Bitdefender
I. "FINGERPRINTS"
I always validate my SNI using Steve Gibson's cool site (multi-millionfold thanks and kudos!) and in his home page under Services Tab is a drop down selection called,
HTTPS Fingerprints.
Here's the link below:
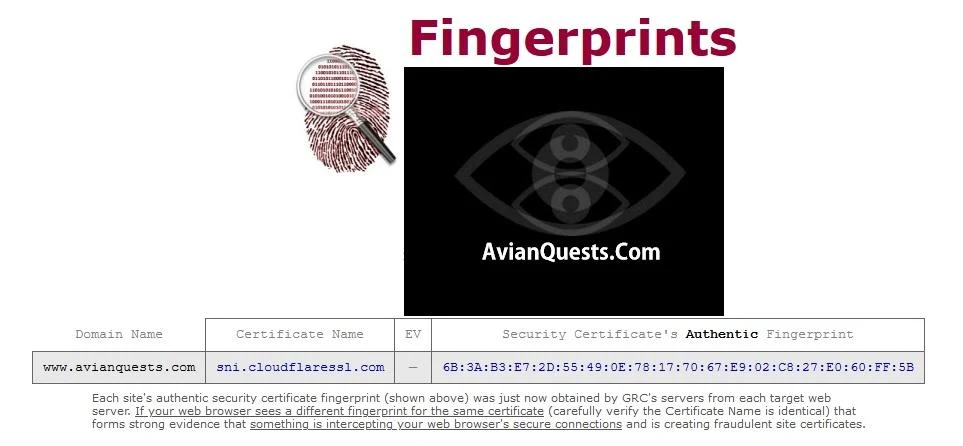
So, with my registrar/domain which is Cloudflare, I tested my site https://www.avianquests.com in Steve Gibson's Fingerprints.

At this phase, take note first of your Security Certificate's Authentic Fingerprint.
II. Cloudflare
To check if your current browser is already ESNI ready, click on the link below for that procedure.
The four (4) green checkmarks MUST be generated above to indicate that your browser is ESNI-capable and ready as evidenced by the following :
Encrypted SNI
Again, it is very, very important that you are able to generate the abovementioned four (4) criteria when you run the test.
Question: If I pass all four tests, am I secure no matter which site I browse?
Caveat: Not necessarily. Even if you pass all four tests, if the domain/web site URL that you are visiting must also need to support DNSSEC, TLS 1.3, and Encrypted SNI, then you are still potentially vulnerable, even if your browser supports these technologies.
Very important link/reference:
https://gist.github.com/avoidik/58f7c6de77ee53a35804f5ad6fea238c
To further double check that, you have to click to another link below to be positively sure:
The Cloudflare link above will display this result/example below:
Since I am using Firefox ESR, which generated the report above, notice, it says, "sni=encrypted."
(Also, for security reasons, I erased the values of my IP address, TS and f1 details above.)
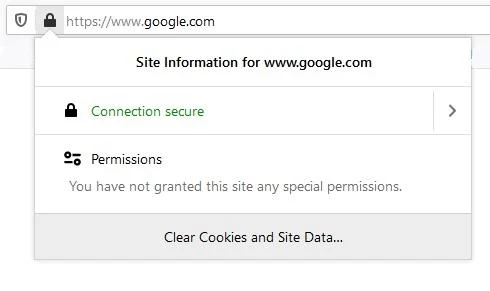
For example purposes, and to further check that it is SNI encrypted, type the following in your browser prompt , https://www.google.com and hit enter, and it will result to the following.
"Site information for www.google.com
Connection secure."
By clicking on the right arrow of Connection secure in the abovementioned example, it will bring up another prompt below as follows:
You are securely connected to this site.
Again, by clicking on More Information tab of the abovementioned screenshot will bring up the certificate information below as follows:
This is the screenshot of the Google "Fingerprint" of security certificate generated by my Firefox ESR browser.
On the SHA-1, you can compare that with Steve Gibson's Fingerprint analyzer to be the same/identical.
If not the same fingerprint values, your browser/connection to the internet is NOT ENCRYPTED, and thus, you must now remediate it and follow the steps that I did to attain a FULL ENCRYPTION status.
So, today as I write this blog post, in my case, it is around seven - eight days depending on your location, and running a browser of choice, which I am running on total ESNI Encryption without encountering any security problems in my web browsing experience.
So, last but not the least, is that, we've reached the third and final part of the ESNI Fingerprinting enablement/walk through.
So, last but not the least, is that, we've reached the third and final part of the ESNI Fingerprinting enablement/walk through.
III. FIREFOX ESR version 78.13.0
In my particular experience for my desktop PC, which is ESNI-compliant, which again, to fully ensure that I am totally ESNI-compliant, and whenever I view my domain/blog site's fingerprint and/or other web sites with an indelible ESNI signature, moving forward, I now use only FireFox ESR browser.
I tried other browsers, however, they do not generate an encrypted SNI.
I tried other browsers, however, they do not generate an encrypted SNI.
Here's the link/address:
Once Firefox ESR gets successfully installed in your PC/laptop, a little tweaking of the browser default must be done.
Again for example purposes,
type https://www.google.com
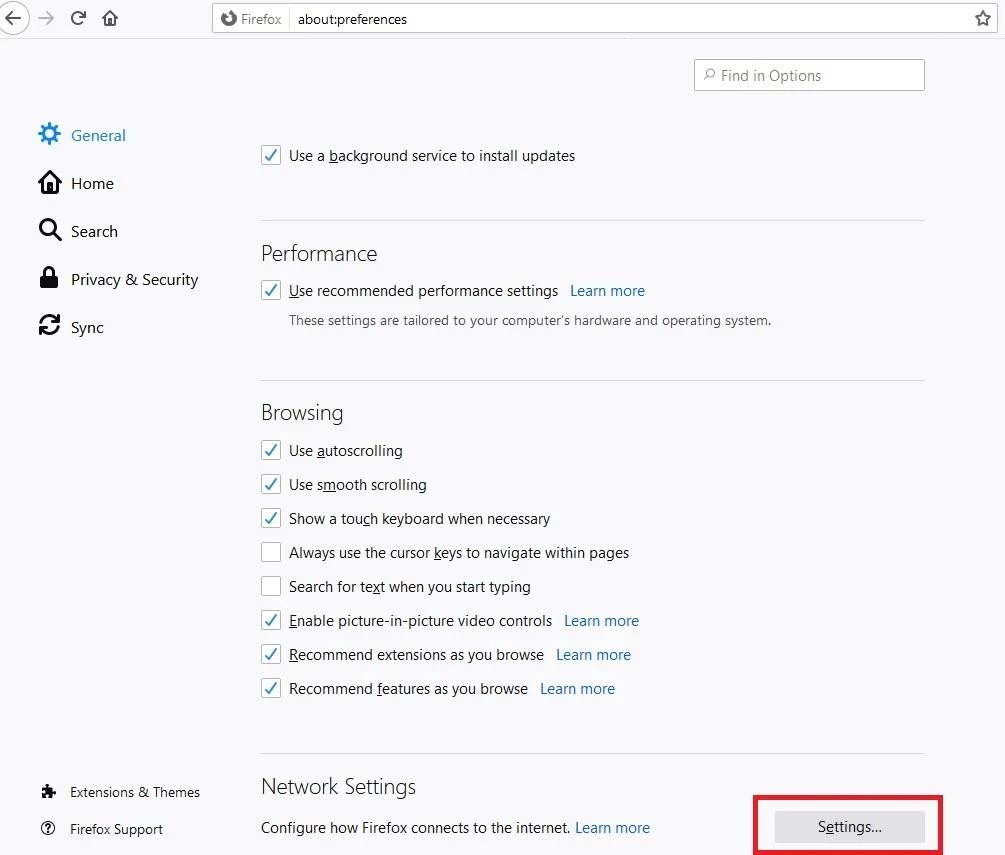
Click on the three horizontal stripes on the right most portion of the Firefox ESR browser and a drop down menu will be presented and then chose, and Options.
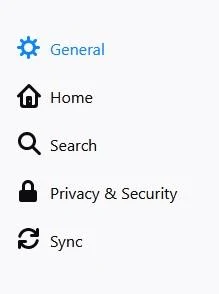
Under the General Tab, scroll down to the bottom of the page.
On the Network Settings Option Click on Settings located at the right side.
In the Connection Settings, make sure No Proxy option is chosen (ticked).
Enable DNS over HTTPS box which is again, ticked (check marked) then click on OK.
Also, the most important in Firefox ESR is tweaking the following:
How to enable ESNI in Firefox
Also, the most important in Firefox ESR is tweaking the following:
How to enable ESNI in Firefox
Firefox Configuration
1. Open about:config
2. Set network.security.esni.enabled to true
3. Run in Firefox ESR
IV. BITDEFENDER
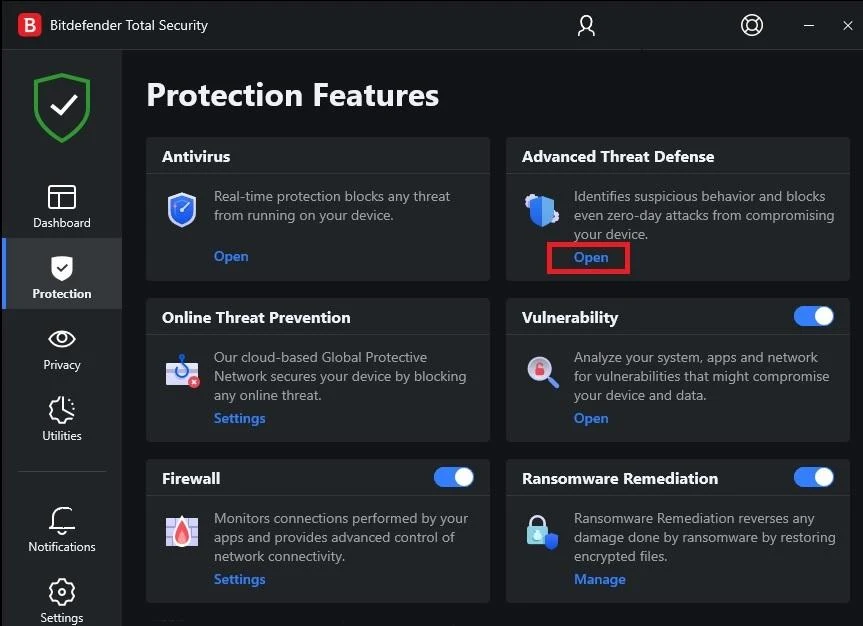
Last but not the least, if you use Bitdefender as firewall, you have to make some exception entries in the firewall rule to fully allow ESNI.
Run Bitdefender as an Administrator.
On your Bitdefender Protection Features choose Protection and click on the Open on the Advance Threat Defense choice.
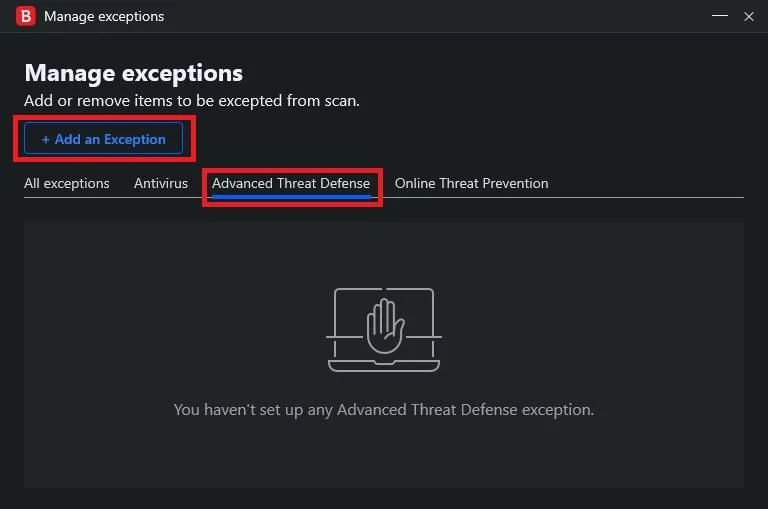
After which you will be prompted to the abovementioned screen, then click on Settings.
On the Manage Exceptions screen above, click on Add exceptions.
On the blank row, I typed Google.com as an example. Then hit the Save, button.
And below are managed exceptions which Bitdefender's Advance Threat Defense will bypass/allow thus, one will get the unadulterated encrypted SNI from the domain.
Really, no rocket science here, very straightforward.
Once you have set your exceptions, you're good to go.
In summary, here are the major takeaways/benefits running your browser in FULL ESNI mode:
- Elimination of MITM (Man-In-the-Middle);
- Elimination of ransomware vulnerability;
- Peace of Mind;
- Adherence to the best security practices; and
- Elimination of ransomware vulnerability;
- Peace of Mind;
- Adherence to the best security practices; and
- Et cetera.
And of course, it's totally "free" just invest your time and effort to make it happen.
It's
a big thing for me to be able to get back to this "state of security
connectivity" online and have peace of mind knowing that your internet
connection is safe/secure.
Other tests, (If you like to do, it's quite fun actually.)
CHECK DNS SPOOFABILITY
https://www.grc.com/dns/dns.htm
References:










Post Comment
Post a Comment