How I Upgraded
My
Electric Bass Bridge
I remembered that I inadvertently blogged an oversight about my electric bass guitar.
I missed out to include the upgrade my bass guitar, specifically the electric bass bridge part.
At present, I own a
I purchased it around the last quarter of 2021.
Check out my recent blog with the image link below:
All products mentioned in this blog post is NOT a paid product feature/endorsement.
I personally bought the products using my personal out -of-pocket monies.
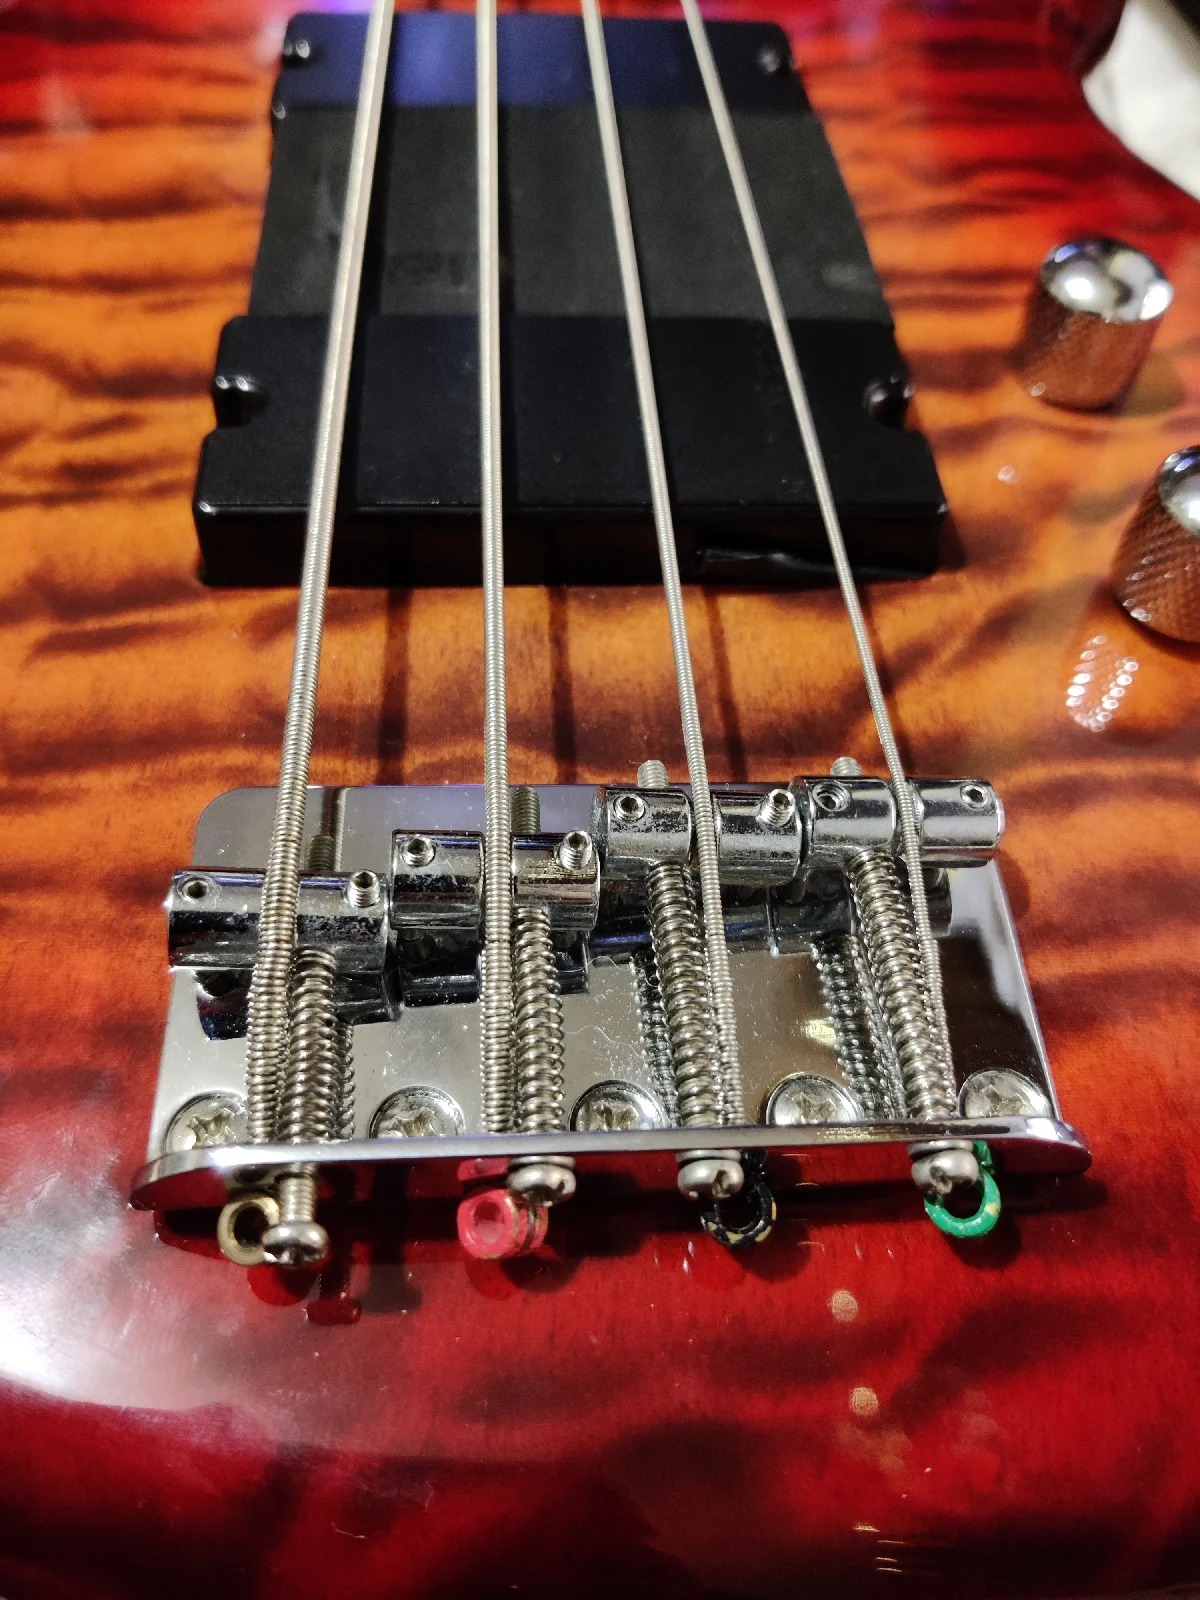
The CORT Action DLX Plus active bass guitar which comes with a stock "unnamed" bass bridge,
The CORT Action DLX Plus active bass guitar which comes with a stock "unnamed" bass bridge,
which looks like that of an old vintage model jazz bass bridge.
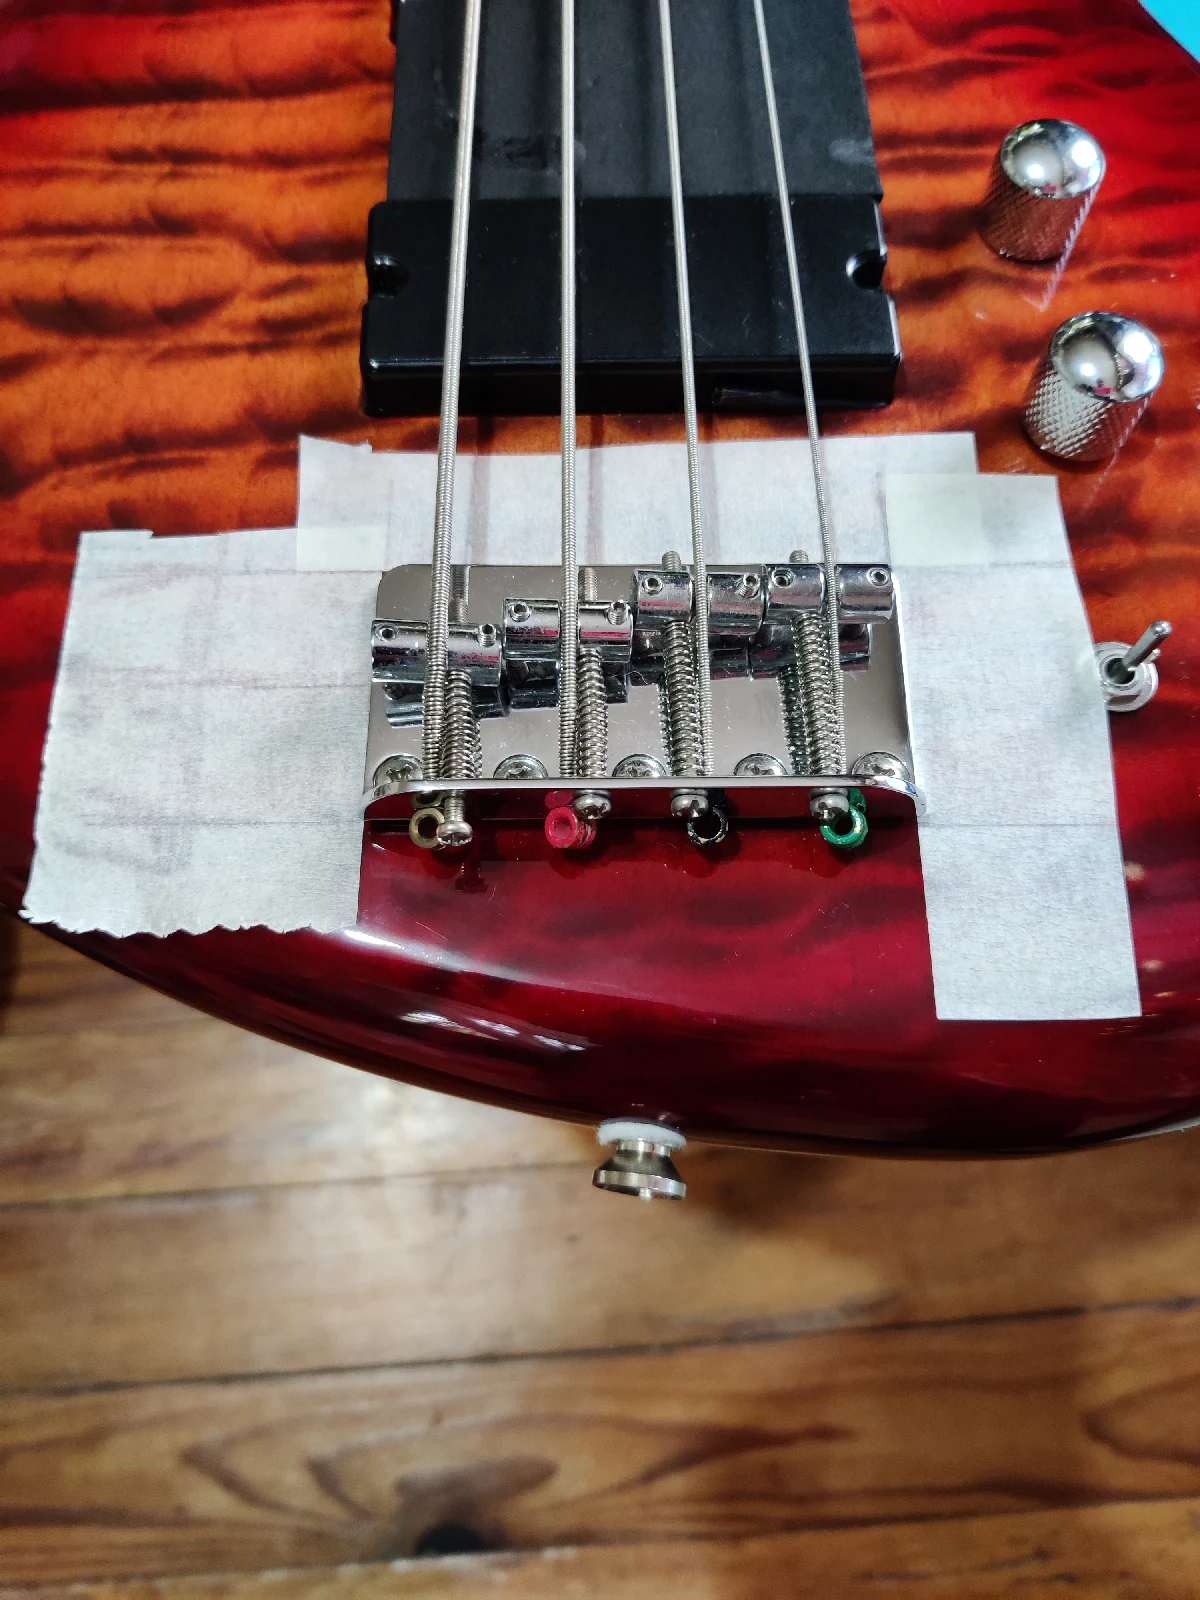
However, when I was in the process of doing intonation, and adjusting the string height of my electric bass, I was not satisfied with the results.
I researched further online, and whittled down to choose a professional bass bridge,
and I finally went for Schaller.
By chance, local country suppliers were available to supply this upgrade.
I finally settled and decided to order online
via Lazada
specifically,
Black foam layer one.
The first black foam covers a plastic packet containing 3 (three) black screws and one (1) micro allen wrench.
Cool! Exactly what I ordered.
A blackchrome variant of
Schaller 3-D 4 electric bass bridge.
The bridge comes covered with a plastic sticker covering the painted portion extending to the back.
Schaller 3-D 4 Bridge Specs
3-Dimensionally adjustable bass bridge made of steel
Saddles: Rollers
Bore hole spacing: 51 mm
Single string spacing: 19 mm
Total string spacing: 57 mm
Dimensions:
(L x W x H) 57.4 x 79.7 x 15 mm
Finish: Black
Fixing screws
Fixing screws
Made in Germany
PRE-INSTALLATION
Installation of a
Schaller electric bass bridge.
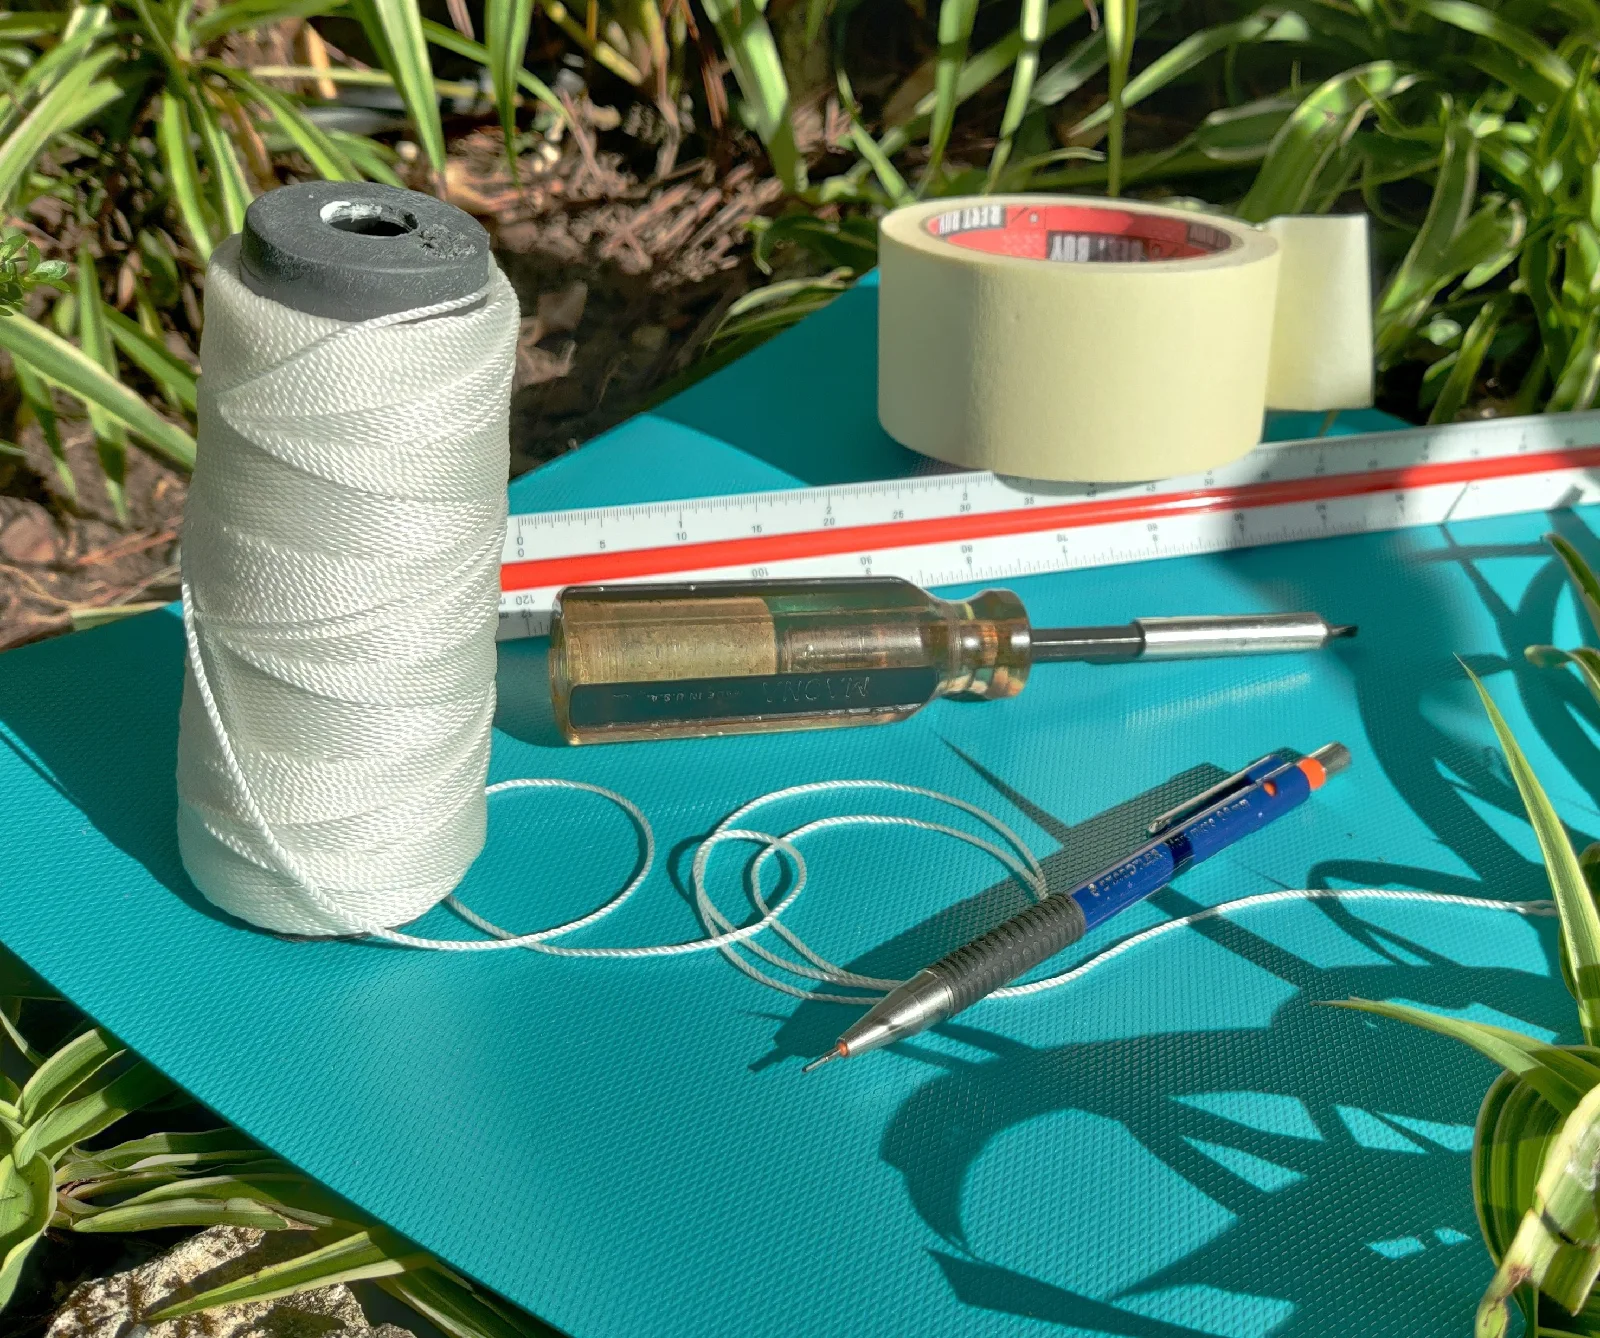
I used the following:
- Masking Tape
- Staedtler Technical pencil
- Thick thread
- Ruler with millimeter markings
- Screw driver with flat and cross head tips
Measure the actual string spacing.
This is one of the reasons that prompted me to upgrade to a
new bass bridge with string spacing adjustment capabilities.
Notice the uneven string spacing in the above-mentioned image relation to the old "unnamed" bass bridge of my CORT Action DLX Plus.
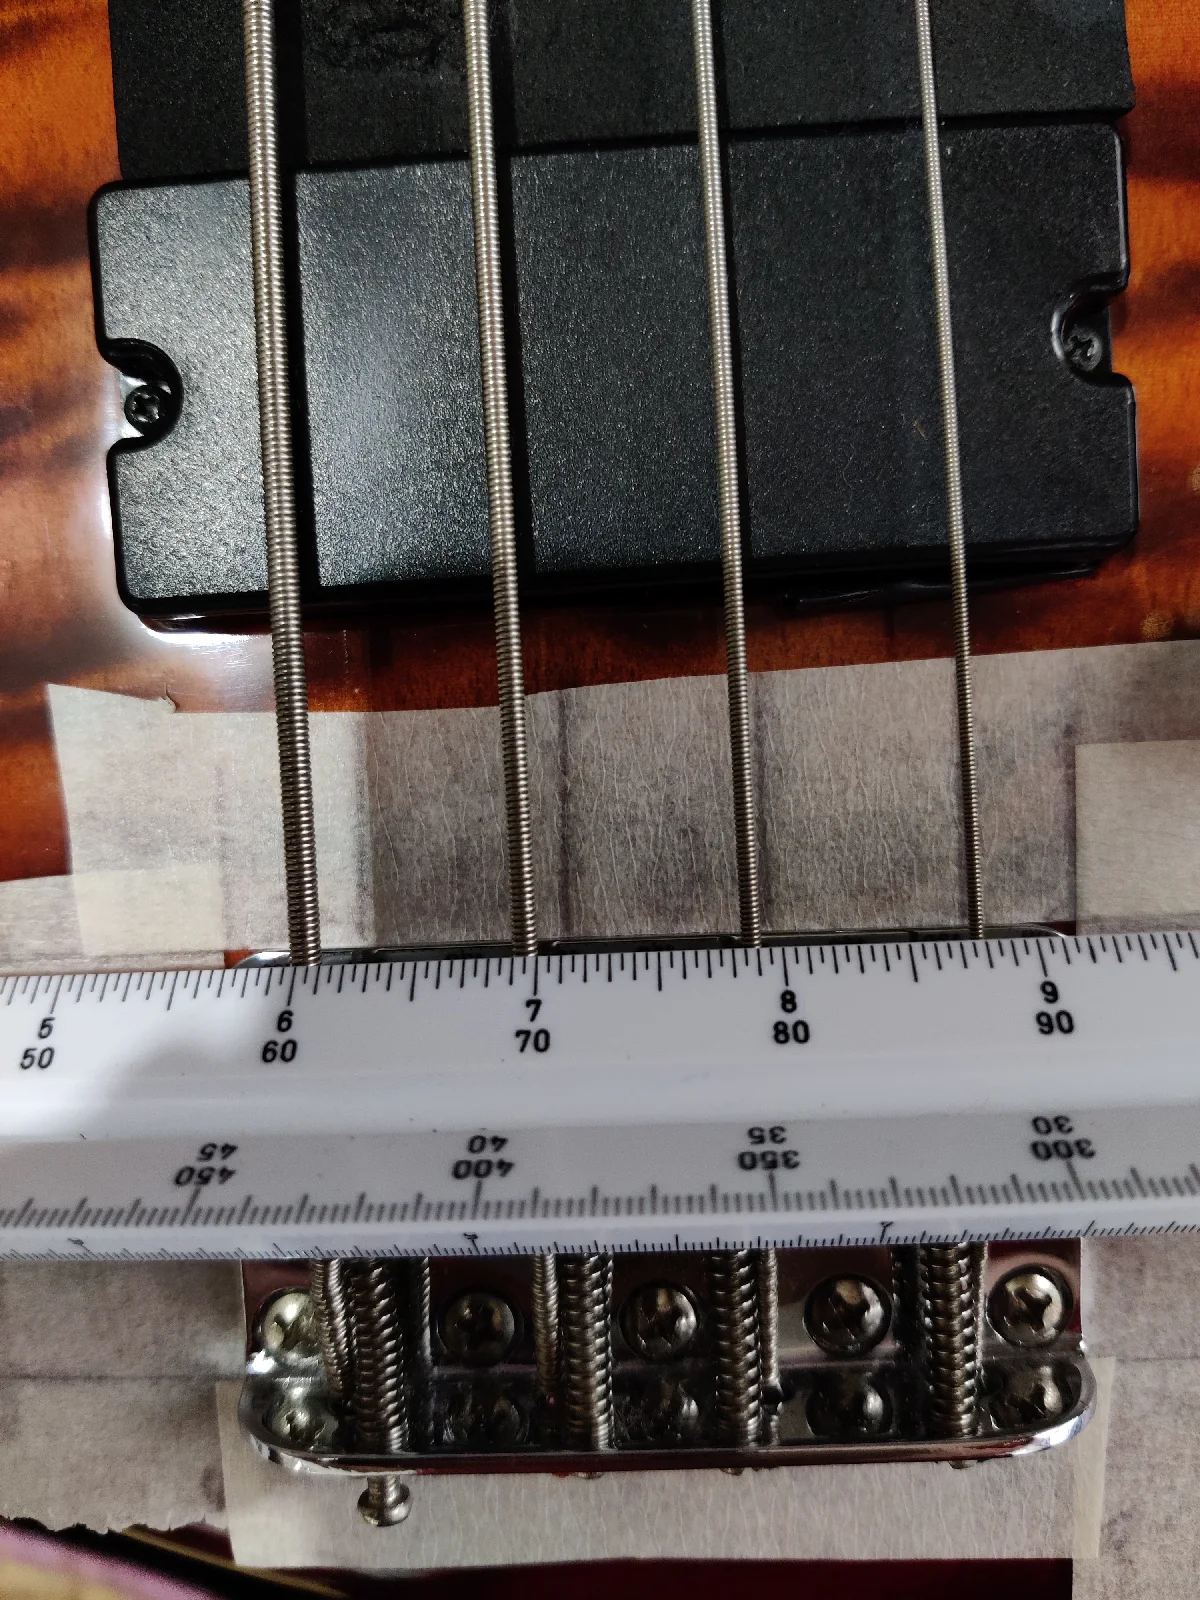
Measure and mark accordingly the position of the bass saddle unto the masking tape.
Also, measure and mark accordingly the beginning top edge of the bass fret up to the beginning edge of the bass bridge and up to the end part of the bridge where the string balls end.
Do also measure the sides, and bottom parts of the old bass bridge to serve as REFERENCE points.
This is how it looked like (image above) when I finished measuring and marking the masking tape in reference to the old "unnamed" bass bridge.
Carefully remove one by one the bass strings.
One of the practical use of the masking tape is to prevent any scratches to the bass guitar esp when working on the saddle and bass strings.
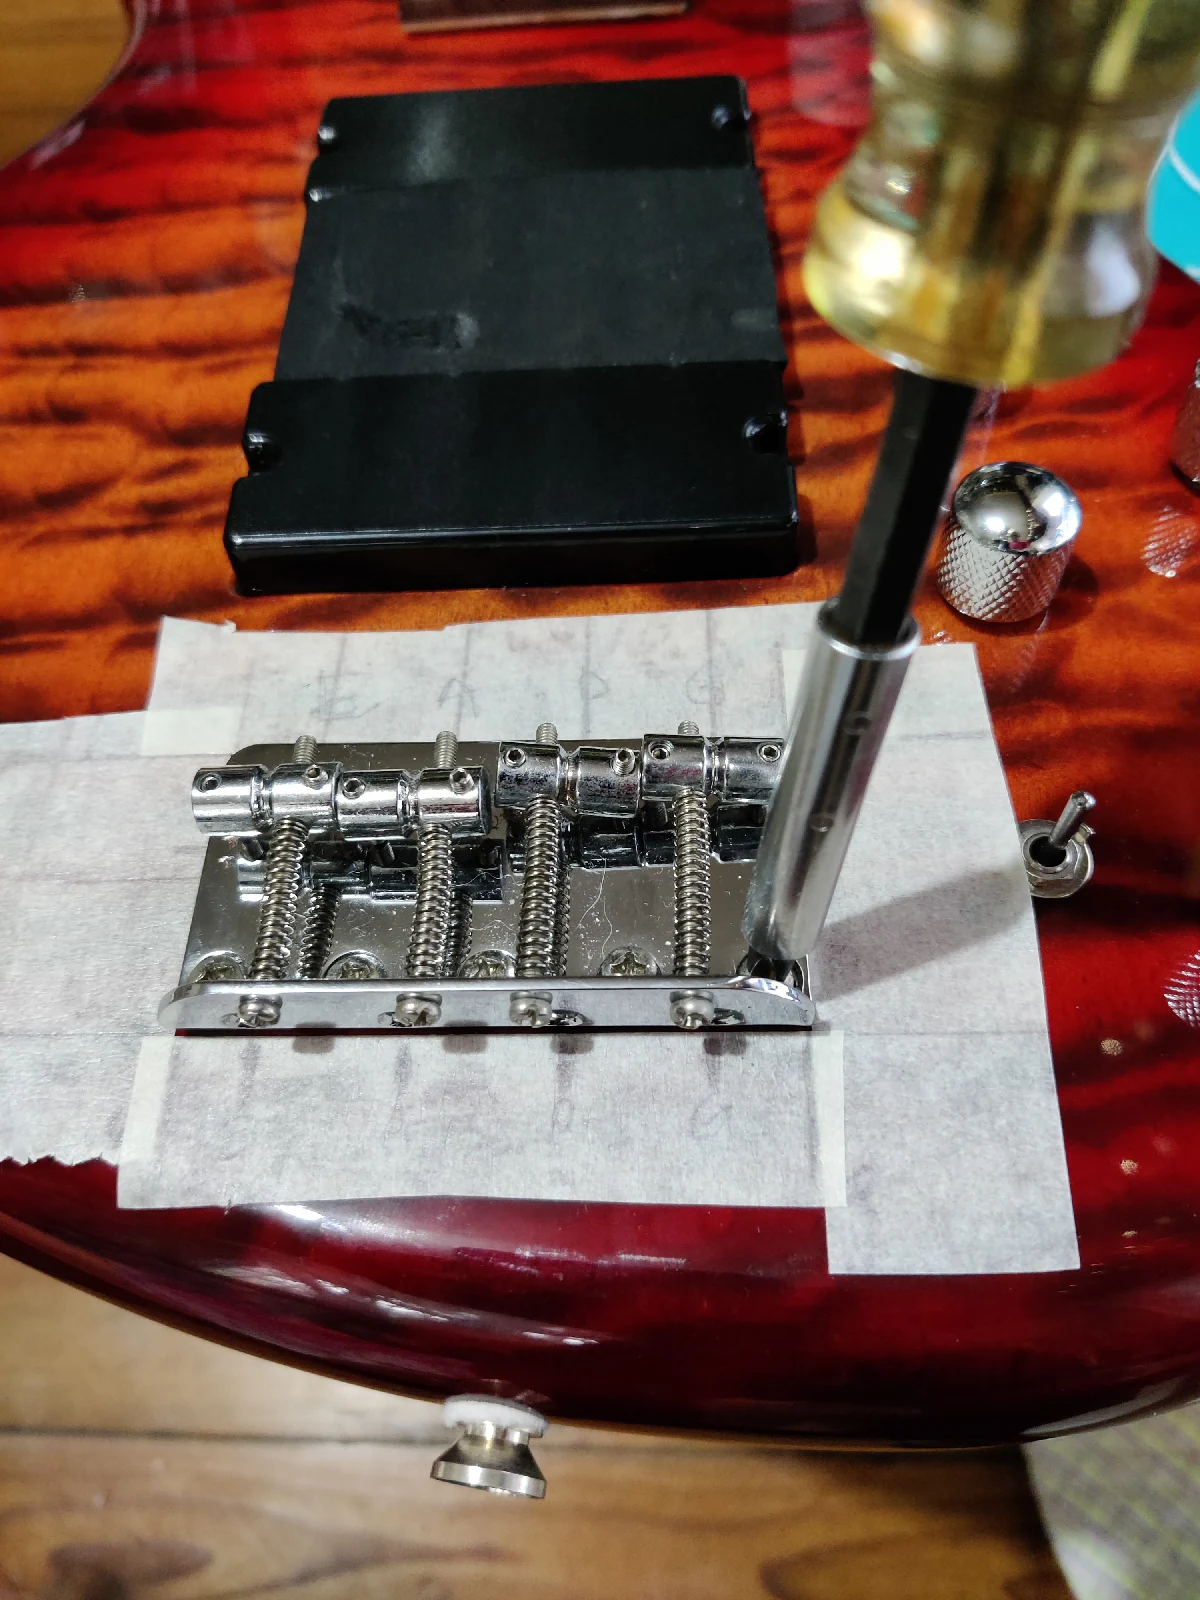
Unscrew using a screwdriver the bass bridge.
I started from right going to the left. (personal preference)
CAUTION: Carefully remove the old bass bridge as underneath sits a strip of wire which is the GROUND. The ground wire prevents electronic hum/noise.
So, pay attention to this wire strip and NEVER touch/remove it as it is a very important part of the bass electronic system for passive-active settings.
Carefully put the new bass bridge (Schaller).
At this juncture, we are ALIGNING the new bass bridge to the original markings of the old vintage bass bridge.
Also, do make sure that the ground wire strip touches/in contact with the new bass bridge installation.
Then proceed to install the white thread using it as temporary "strings" with the aim/objective of checking and serving as linear guide/reference to make the alignment and positioning of your new bass bridge.
Why use white thread?
It is easy to see as it contrasts with the background and make physical adjustment of the bass bridge in relation to it's position and aesthetics.
The white thread is also easy to pull snugly and tighten unto the bass strap pin below the bass.
Use small cuts of masking tape to temporarily hold the white thread in place.
I did not follow the existing screw holes originally in place with the old bass bridge, but moved further backwards and following the marked (old) bass bridge's saddle landing.
Aligning the saddle of new Schaller bridge's with the original marked saddle of the original bass bridge is the way to go.
I will repeat, by not using the original screw holes as reference is due to size difference of the old bridge with the new bridge and location of the saddle markings vis-a-vis the new bass bridge saddle's (Schaller).
The Schaller bridge is much bigger length wise in actual scale.
Using the screw of the bass bridge, scrape it against the candle to produce wax bits on the bass bridge screw.
Using a screwdriver, attach the new bass screw (Schaller) onto the bass bridge starting with the middle screw followed by the next two screws accordingly. (Personal preference)
FACTOID: Candle wax acts as a temporary lubricant, which when turned provides ease of screwing the screw to the bass wood.
Candle wax also enables the screw bore even threading into the wood and thus, less wood damage during groove penetration since the screw grooves are well-lubricated.
Finishing up winding clockwise with the final bass bridge screw unto the new bass bridge (Schaller) in place.
Also, do not forget to clean and remove unused candle wax on the bridge with Q-tips.
POST-INSTALLATION
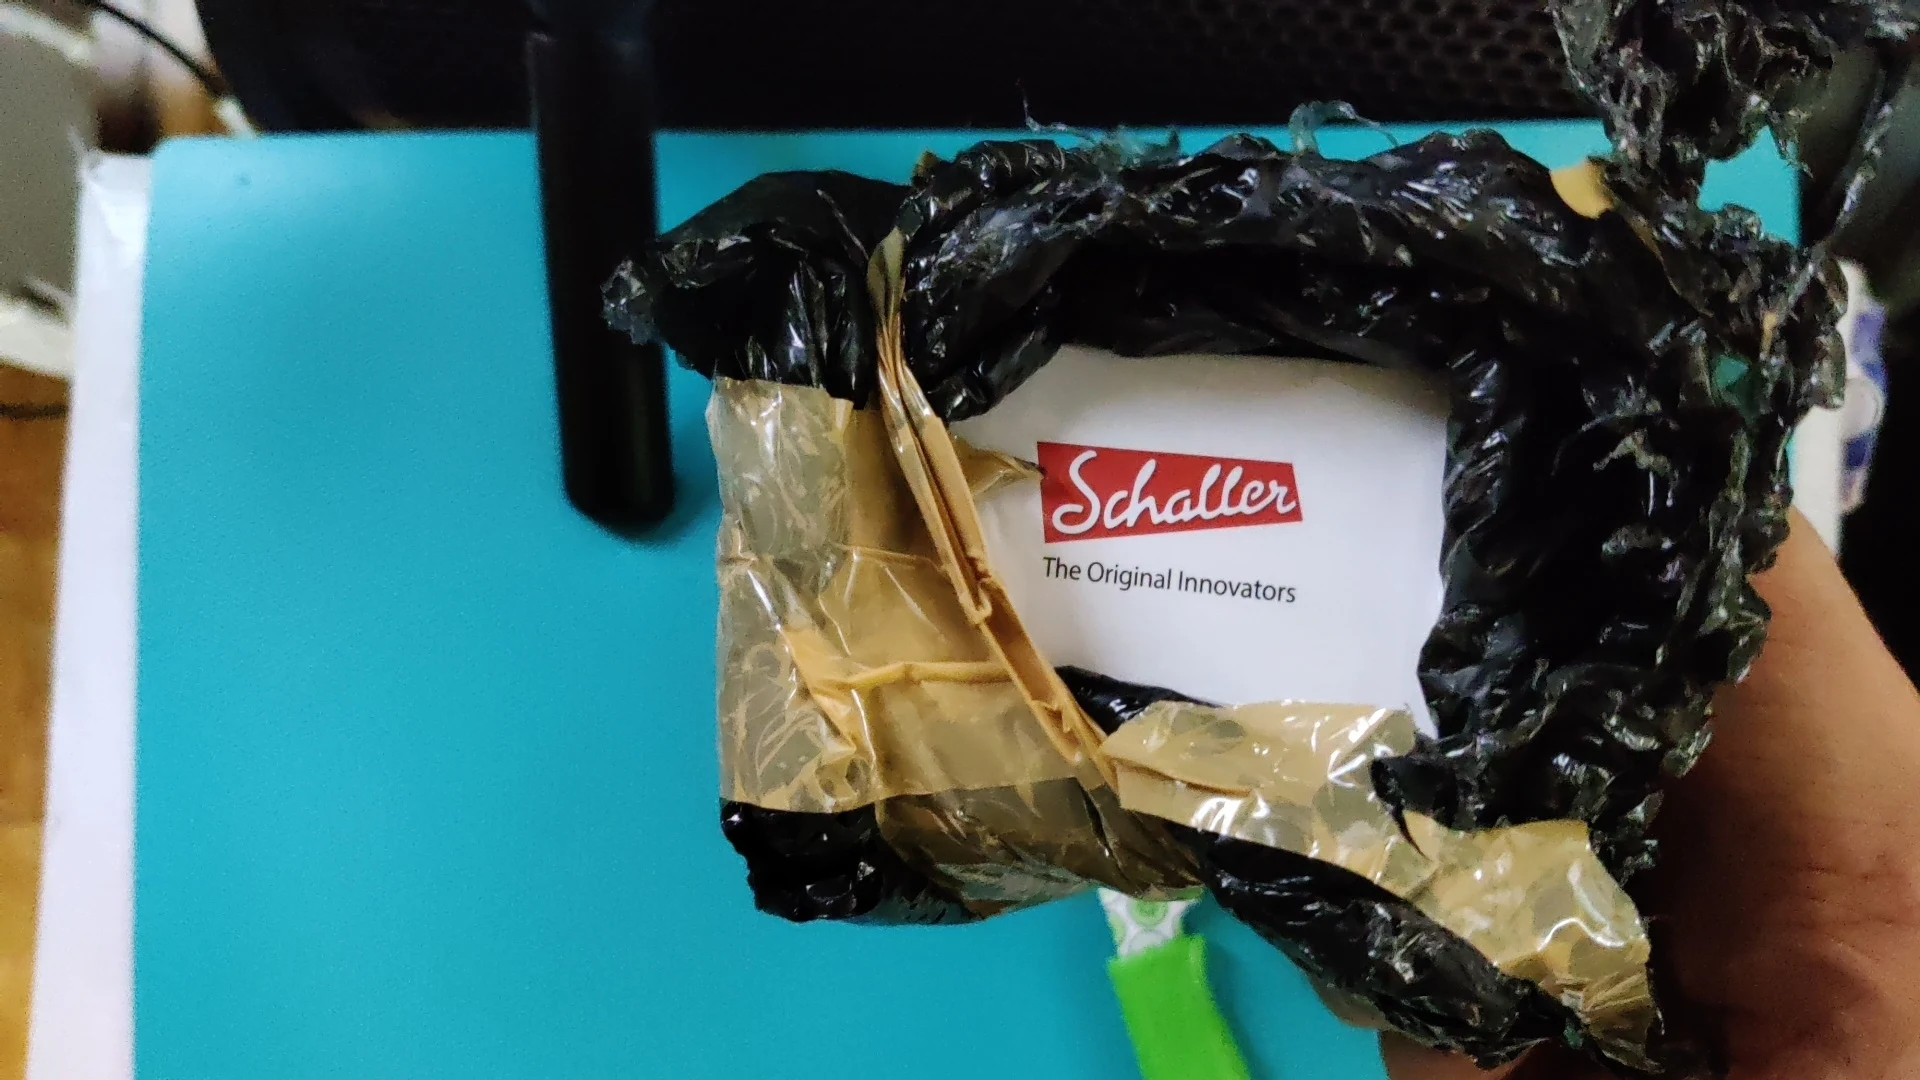
By the way, I also reused/recycled the Schaller box as a storage of the original unnamed CORT bass bridge which I replaced.
Install new set of bass strings.
ROTOSOUND STRINGS INSTALLATION
Check, measure and adjust proper string spacing of your taste.
Check, measure and adjust string height.
- Use the Schaller micro allen wrench to adjust the Schaller 3-D 4 bass bridge.
Check and adjust string intonation using a chromatic tuner and a small flat head tip screwdriver. (Details of actual use in a forthcoming future blog post product review.)
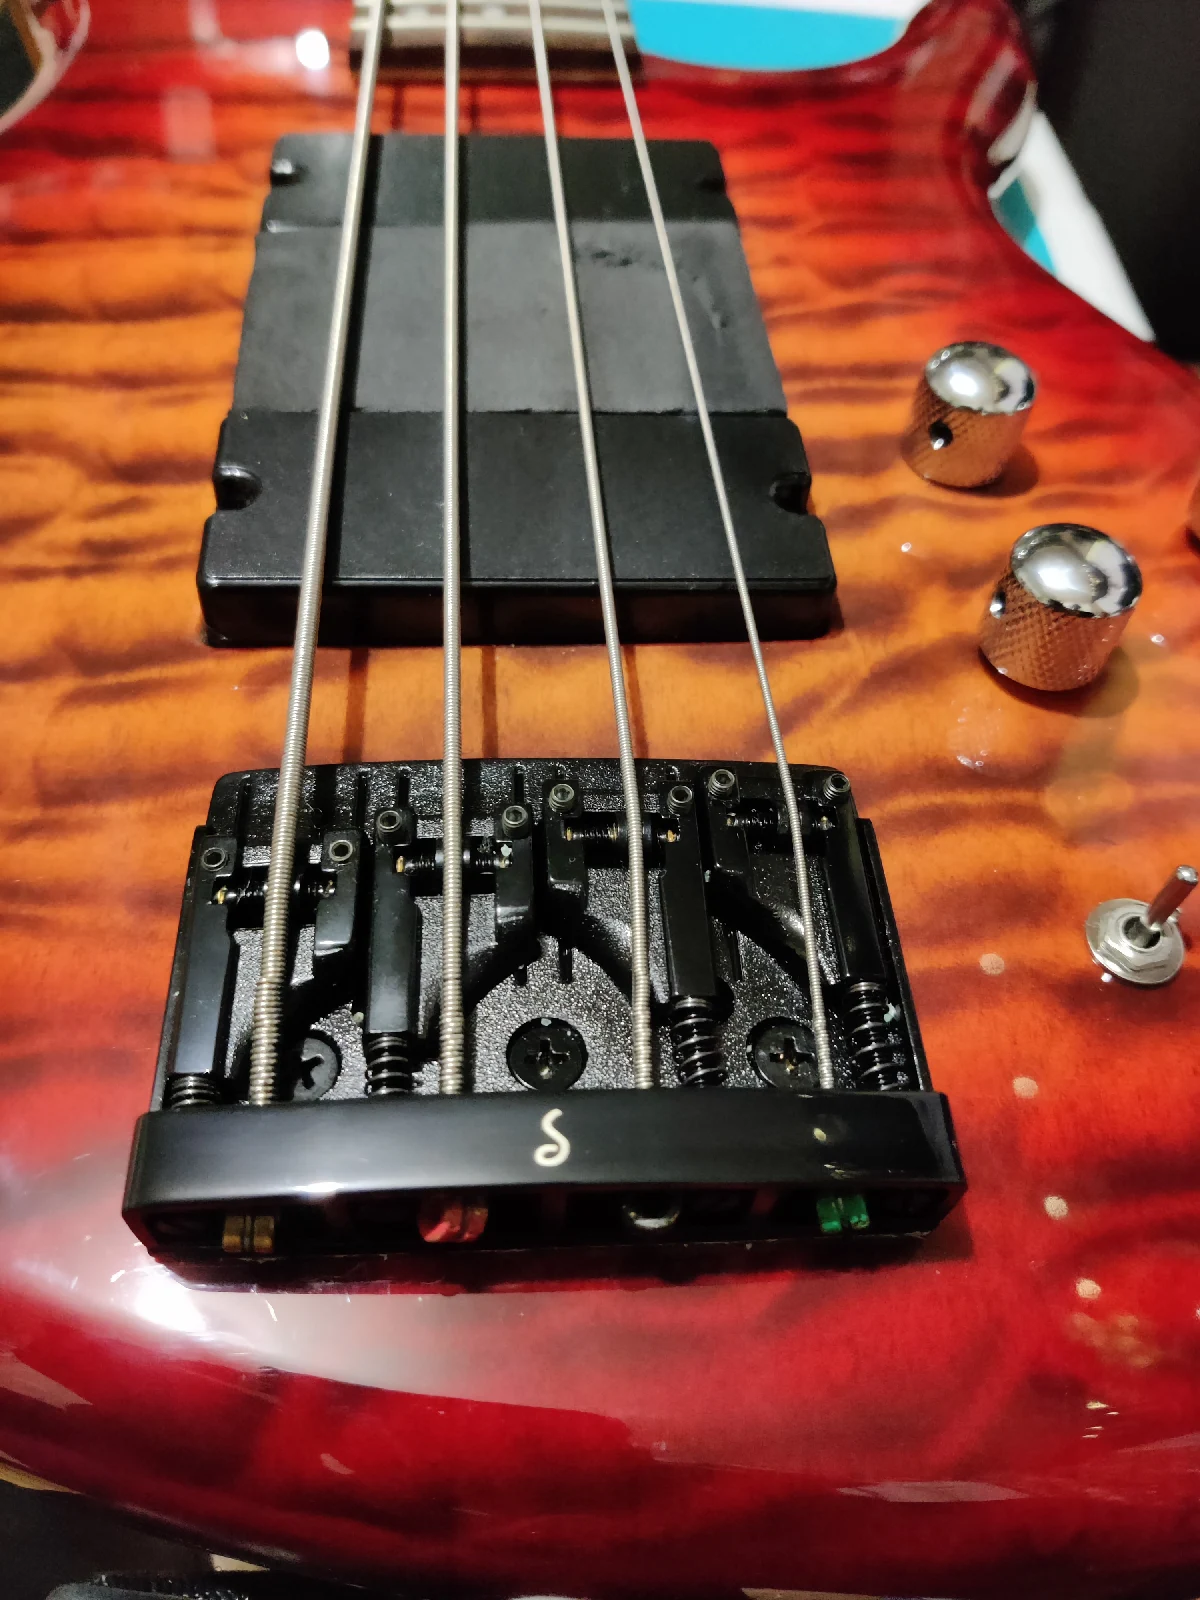
A new bass bridge
journey's end
of a
Schaller 3-D 4
electric bass bridge installed
in my
Cort Action DLX Plus
active bass guitar.
BENEFITS/ADVANTAGES
1. Ease of installation of the bass bridge. Only three screws.
2. Ease of adjustment string height using the Schaller micro allen wrench.
3. Ease of string intonation using a small flat head screwdriver.
4. Ease of adjustment of string spacing without using any tools by just using your fingers to roll the ball rollers forwards or backwards which will move left to right or vice-versa.
CONCLUSION
Upgrading to higher quality, higher specs and features of a bass bridge, and with the combination of proper intonation, string height, string spacing, new strings,
etcetera will significantly improve the tone and sound of your bass guitar.
Coming Soon (future blog):
Review of the
Schaler 3D-4 BlackChrome
electric bass bridge












Post Comment
Post a Comment